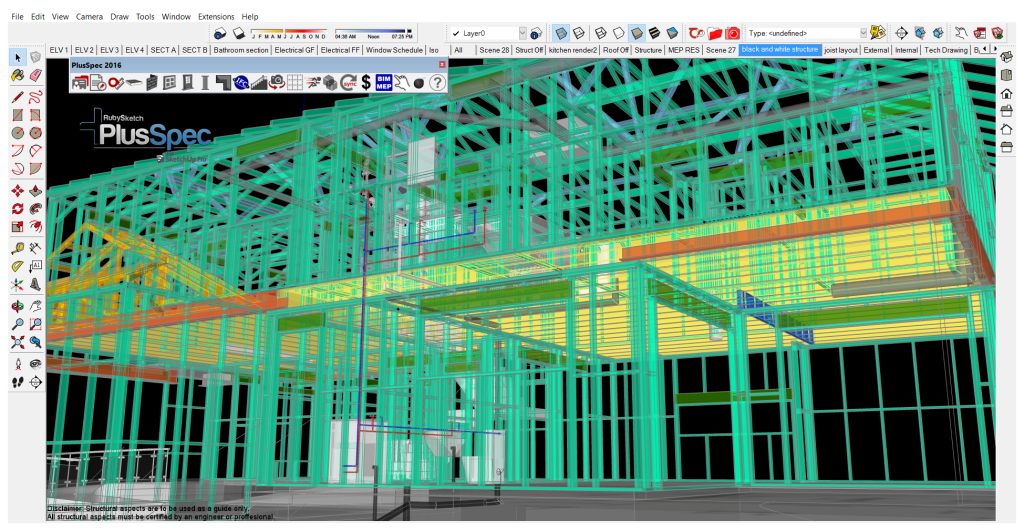
PlusSpec 2015 Update
Customization: Now you can create and customize your own wall-types/materials and structural framing. Any new wall-types/materials or framing that you create will be saved in your personal library, and available for you to select, at the click of a button, collaboration with IFC is now simple. You can also edit your custom materials at any time. With PlusSpec 2015, you have total design freedom. You can design with parametric modelling, which you can customize – or you can use the free-form 3D sketching with the native SketchUp tools.
Shortcuts: In PlusSpec 2015, you can associate shortcuts on your keyboard for all of the PlusSpec tools, to best suit your own personal workflow.
Pricing: PlusSpec 2015 enables you to add prices to every material or component in your model. Literally everything that you draw can have a price associated to it – and PlusSpec will remember it for your next projects. Now when you click your take-off, all of your materials will be quantified AND priced. You can associate labour prices in sqm or lineal meter, and you can even add a margin. If you are an Architect, you can track project costs throughout the design process – and understand cost implications as they happen. If you are a Builder, you can say goodbye to wasting away your hours, tediously preparing quantity take-offs. PlusSpec will give you your life back – and dramatically reduce errors.
This is a Game Changer!!!
We have made many other improvements to PlusSpec 2015, such as:
IFC attribution.
- IFC attribution has become automated! Now you can use your Sketchup models in any IFC compatible software.
- Walls now = IfcWall
- windows = IfcWindow
- Joist and beams =IfcBeam
- Stairs = IfcStair
- Floors=IfcFloor
- Footings =Ifcfooting
- Roof =IfcRoof
and much more…
IFC Spaces Tool
- Create IFC spaces from your floors, or from floor coverings
- Name your rooms
- Set your ceiling heights
- Demonstrate the room size in 3d
- New link to tutorials and tips & tricks
Footing Tool
- Create strip footings that don’t have to join back up
- Create, find and manage materials (drag & drop)
- Create bearers and joists and change spacing
- New link to tutorials and tips & tricks
Slab Tool
- Create and remove openings after they have been drawn
- Footing only option
- Right-click menu options
- Create, find, and manage materials (drag & drop)
- Demolition option
- New link to tutorials and tips & tricks
Joist Tool
- Create, find, and manage materials (drag & drop)
- New link to tutorials and tips & tricks
Floor Tool
- Create, find, and manage materials (drag & drop)
- Existing and demolition options
- New link to tutorials and tips & tricks
Wall Tool
- Create, find, and manage materials (drag & drop)
- New Split walls icon
- New link to tutorials and tips & tricks
Wall Surface Tool
- Create your own tile-able images and place them over any surface. Or, find pre-made materials, and simply drag and drop these materials straight into your model. You can manage materials and sync them by clicking the Sync button.
- New link to tutorials and tips & tricks
Window Tool
- Window Tool can change glass type, head height, frame type and colour…even window tinting.
- Copy and place windows in the same wall
- Define residential or commercial windows
- Change the material that the windows are made from: Timber; Aluminium; PVC; etc
- Create custom windows to suit standard glass sizes
- Associate heads for brick work or for framing. These sizes can be changed or attributed by your engineer
- New link to tutorials and tips & tricks
Door Tool
- Associate hinges, door stops, screws, architrave sizing (to one side or both sides), & change door styles
- New link to tutorials and tips & tricks
Post Tool
- Create, find, and manage materials (drag & drop)
- Change draw location: top bottom centre outside, by pressing the right arrow key on the keyboard
- Existing and demolition options
- New link to tutorials and tips & tricks
Roof Tool
- Create, find, and manage materials (drag & drop)
- Remove ‘Hip Cap’ field
- Demolition options
- New link to tutorials and tips & tricks
Roof Tool (face)
- Create, find, and manage materials (drag & drop)
- New ink to tutorials and tips & tricks
Roof Editing Tool
- New link to tutorials and tips & tricks
Ceiling Tool
- Create, find, and manage materials (drag & drop)
- New link to tutorials and tips & tricks
Stair Tool
- We now have 12 different stair types and all of these stairs can make thousands of variations.
- We added in a head height reference for stair void openings
- New link to tutorials and tips & tricks
Scene Tool
- Add IFC spaces scene
BIM Tool
- Create new layers
- IFC classification
- Install price
- Buy price
- New link to tutorials and tips & tricks
Purge Tool
- Make your model work more efficiently The purge tool, this will get rid of all of the unnecessary textures and components in just one click.
- New link to tutorials and tips & tricks
Help Tool


Leave a Reply
You must be logged in to post a comment.