Learn why PlusSpec is so powerful

Job Tool
This tool allows you to input the relevant Company and Project details. You can also modify the project stage in the job tool, as you progress your design, as well as Job Categories (such as Soil Classification). Inside the Settings tab, you can select which Material Library (Country) to use, select the currency symbol that best suits your region, as well as the ability to choose the units (metric or imperial) to write/display in all PlusSpec dialogues.

Take-Off Tool
This tool allows you to easily and accurately get material quantities and estimates/feasibility studies from your model. Simply click on the Take- Off tool, and an editable list of materials and associated labour costs are instantly compiled from the information contained within your model. You can then export to Excel, print or PDF, and distribute accordingly.
Help Tool
This tool allows you to easily and accurately get material quantities and estimates/feasibility studies from your model. Simply click on the Take- Off tool, and an editable list of materials and associated labour costs are instantly compiled from the information contained within your model. You can then export to Excel, print or PDF, and distribute accordingly.
Import PDF Tool
This tool allows you to filter through and import a PDF into your model. This means that there is no need to screenshot your PDF’s to add building plans (like floor plans) to you model.

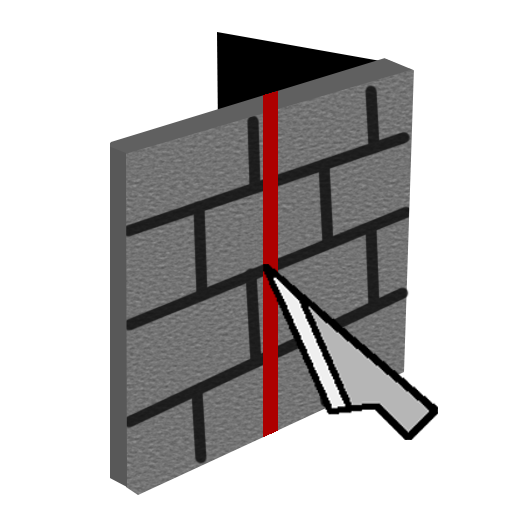
Scale Tool
This tool allows you to set an accurate scale on any model or image. This tool is particularly helpful when importing an image of a 2D plan (for reference or tracing over).

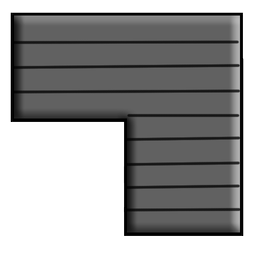
Slab Tool
With this tool you can generate complex 3D parametric slabs. This means that you can generate and edit your slabs with the click of a button.
Footing Tool
This tool allows you to draw footings as separate entities to the slab.

Floor Joist Tool
This tool allows you to generate bearers and floor joists. You can set them to your desired spacing, and include a flooring surface material with a desired thickness. You can choose from multiple construction types, including: solid timber, timber LVL, steel, etc. You can also create your own timber sizes and materials.
Floor Tool
The Floor tool allows you to generate a flooring surface material with a desired thickness. The tool comes with many options and allows you to select or create your own flooring types. You can even decide how you want to fix it (glue and/or underlay materials, etc).
Wall Tool
With this tool you can draw 3D parametric walls. This means that you can generate and edit your walls with the click of a button. You have total control over construction type, height, material cladding, stud spacing, insulation and more. On top of this, you have the ability to create custom wall/material types.
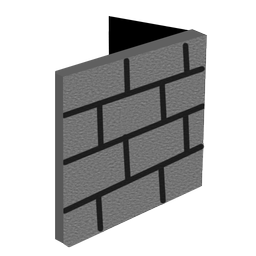
Wall Push/Pull Tool
If you have drawn a wall but want to move it, this is the tool for you. If the wall is connected to other walls, all of the walls will maintain their connections. This tool is so smart that it will also automatically add new walls, if the new geometry requires the inclusion of them.
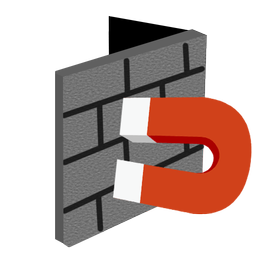
Wall Re-Define Tool
All walls drawn with PlusSpec are parametric. This means that instead of re-drawing a wall that you want to adjust, simply click on this tool, and then redefine and reshape the wall.
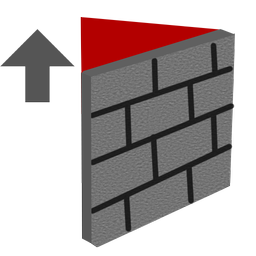
Split Wall Tool
This tool allows you to to split walls, so that you can edit or manipulate each section individually.
Window Tool
With this tool you can insert 3D parametric windows. You can choose between a range of commercial and residential window types (curtain window, bi-fold sliding, etc). It also allows you to select timber sizes, materials, colours, glass type, and tinting. Windows can be drawn to any size or height, so that you can easily customize each window to best suit your project requirements.

Window Re-Define Tool
The window redefine tool is very similar to the wall redefine tool. This allows you to resize or move a window without interfering with the other parts of your wall. It will also automatically re-cut your structure to suit.
Window Options Tool
Use this tool if you have drawn a window but want to change or adjust its type, height, colour, or materials. You never have to re-draw a PlusSpec window, as this tool will automatically make all of the desired changes for you.

Remove Window Tool
This tool allows you to delete windows with one click. This process is non-destructive to the wall it was positioned in. The space where the window was before will automatically be filled back in, and it will be as if the window was never there.
Door Tool
With this tool you can insert 3D parametric doors. You can choose between a range of commercial and residential door types (sliding, pivot, swing, etc), and you can select timber sizes, materials, and colours. Doors can be drawn to any size or height, so that you can easily customize the door to best suit your project requirements.

Door Re-Define Tool
The door redefine tool is the same as the window redefine tool, and allows you to resize or move a door without interfering with the other parts of your wall. It will also automatically re-cut your structure to suit.
Door Options Tool
Use this tool if you have drawn a door but want to change or adjust its type, height, colour, or materials. You never have to re-draw a PlusSpec door, as this tool will automatically make all of the desired changes for you.

Remove Door Tool
This tool allows you to delete doors with one click. This process is non-destructive to the wall it was positioned in. The space where the door was before will automatically be filled back in, and it will be as if the door was never there.
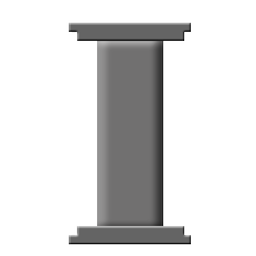
Post/Column Tool
This tool allows you to generate posts or columns, from various materials and thicknesses.
Skillion Roof Tool
With this tool, a complex roof can be generated in seconds. You can customize the roof by selecting or creating your own roofing materials and capping. You can also change the slope, gutter profile, fascia, eaves width, etc, all with a simple click of the button.

Hip Roof Tool
With this tool, a complex roof can be generated in seconds. You can customize the roof by selecting or creating your own roofing materials and capping. You can also change the slope, gutter profile, fascia, eaves width, etc, all with a simple click of the button.

Edit Roof Pitch
This tool allows you to change the roof pitch and overhang of any face created with the roof tool. It also you to create gable roofs.
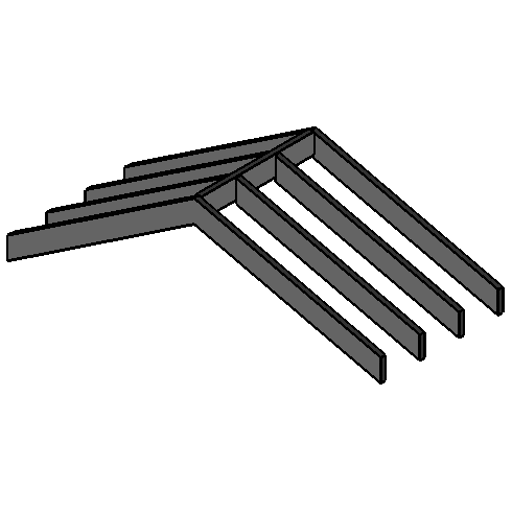
Roof Framing Tool
This tool allows you to generate rafters, under purlins and struts according to your desired spacing. You can choose from a variety of timber sizes, or easily create your own timber sizes and materials.
Note: It may take a few seconds to generate timbers for large and/or complex roof shapes.
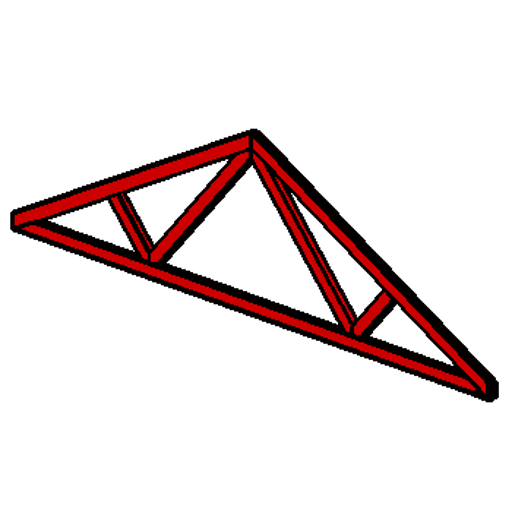
Truss Tool
This tool allows you to create trussed roof framing.

Ceiling Tool
This tool is very similar to the floor tool, and allows you to create a ceiling for your model. You can also create your own materials for your ceiling, and to choose to automatically generate a cornice, or not.

Stair Tool
This tool allows you to easily place a staircase within your model. You can choose from a huge range of stair types – and each stair can be easily adjusted to suit any project requirement by going into the component options and changing its height, width, number of treads, handrails, etc.

Generate Scene Tool
This tool creates scenes/views for you, which are used as the basis/template for presentation and 2D documentation purposes. The scene tool also allows you to turn the structure on or off. This is particularly useful with timber or metal stud construction.
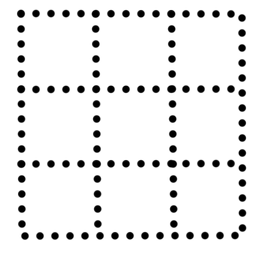
Grid Tool
This tool allows you to create a grid to use as a drawing guide for your floor plan. You can set the grid to any size. This is particularly useful for masonry construction. Simply set the grid to suit the masonry gauge, and completely eliminate error.

Purge Tool
Use the purge tool to remove any deleted components and materials from your model. This ensures that your file size remains as small as possible, so that your model will run as quickly as possible.
Component Tool
This Tool gives you access to a variety of components that have been pre-loaded into the software, for your ease of use. Each component will also be estimated in the Take-Off.
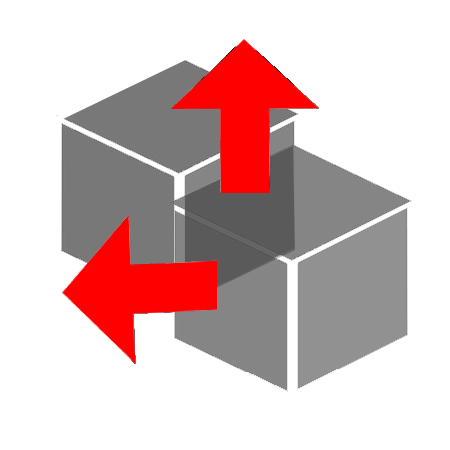
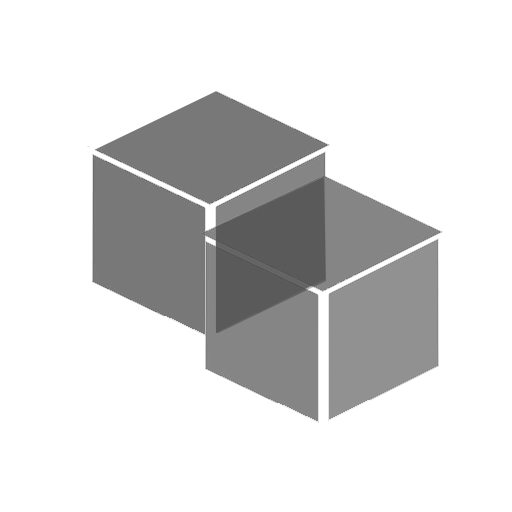
Redefine Component Tool
This tool gives you the ability to move and reposition a component once it has been dropped to a wall without interfering with the other parts of your wall.
Edit Component Tool
Once you have dropped a component inside your project, use this tool to edit the components variables.

Remove Component Tool
This tool allows you to delete a component and purge it from your BIM data.

MEP Tool
This tool allows you to add more information to your model to aid in early error detection and clashes. Currently, you can select from hot and cold water, grey water, gas, recycled water, steel pipe, fire pipes, exhaust & air conditioning ducting and electrical conduit.

Tag Tool
This tool allows you to communicate like never before.

RubySketch Tool
This tool gives you access to thousands of free 3D components on the RubySketch 3D BIM Library. All of these components are virtual models of real manufacturers building products. You can easily drag and drop the product into your model, which will automatically generate specifications, and Take-Offs.

BIM Tool
When you create your own component and try to do an estimate, you will notice that your component won’t be there. The BIM tool allows you to create a component that will estimate and take-off with the rest of your model, so that you are able to get a full estimate.
Pricing Tool
This tool allows you to add pricing to products and materials. You can add prices to individual materials, or to everything at once. Feasibility studies and full estimates have never been this accurate or easy.

Interaction Tool
This tool allows you to change the swing and handing of windows and doors, or open and close them. It also enables you to interact with many of our other components, such as: changing the direction of stairs, changing the colour/material of objects, and so on. With the Interaction tool, you can make big changes with just the click of a button.

Explode Tool
When you import a model from Rubysketch 3D BIM Library, the manufacturers information and other information has been disabled to protect the inserted model. Once you explode the model, you will be able to access all of its imbedded information, and automatically generate specifications and take- offs.
Sync Tool
We recommend that you use the Sync tool at least once per week. The sync tool allows you to reconnect to the PlusSpec server, which will ensure that your tools and materials are up-to-date and working properly. Mac users will need to use the Sync tool after creating a custom material, which will then update your personal Material Library, and include your custom materials in your drop-down menus.

IFC Tool
The IFC Tool allows you to assign/modify the elements (walls, slabs, etc) of your model with IFC naming conventions.

Geolocate Tool
The Geolocate Tool allows you to geolocate your model and get a sitemap of your site for Shadow Diagrams.

Align Sitemap Tool
The Align Sitemap Tool allows you to align your geolocated sitemap with the model axis.

Set North Tool
The Set North Tool allows you to set the angle/direction of North in your model.

Display North Tool
The Display North Tool allows you to turn the North point on/off in your model.

Reset Maps Tool
The Reset Maps Tool allows you to reset the sitemaps to their original position and rotation of when they were imported into your model.

Lock Maps Tool
The Lock Maps Tool allows you to lock the sitemaps in your model so they cannot be moved, edited or deleted.